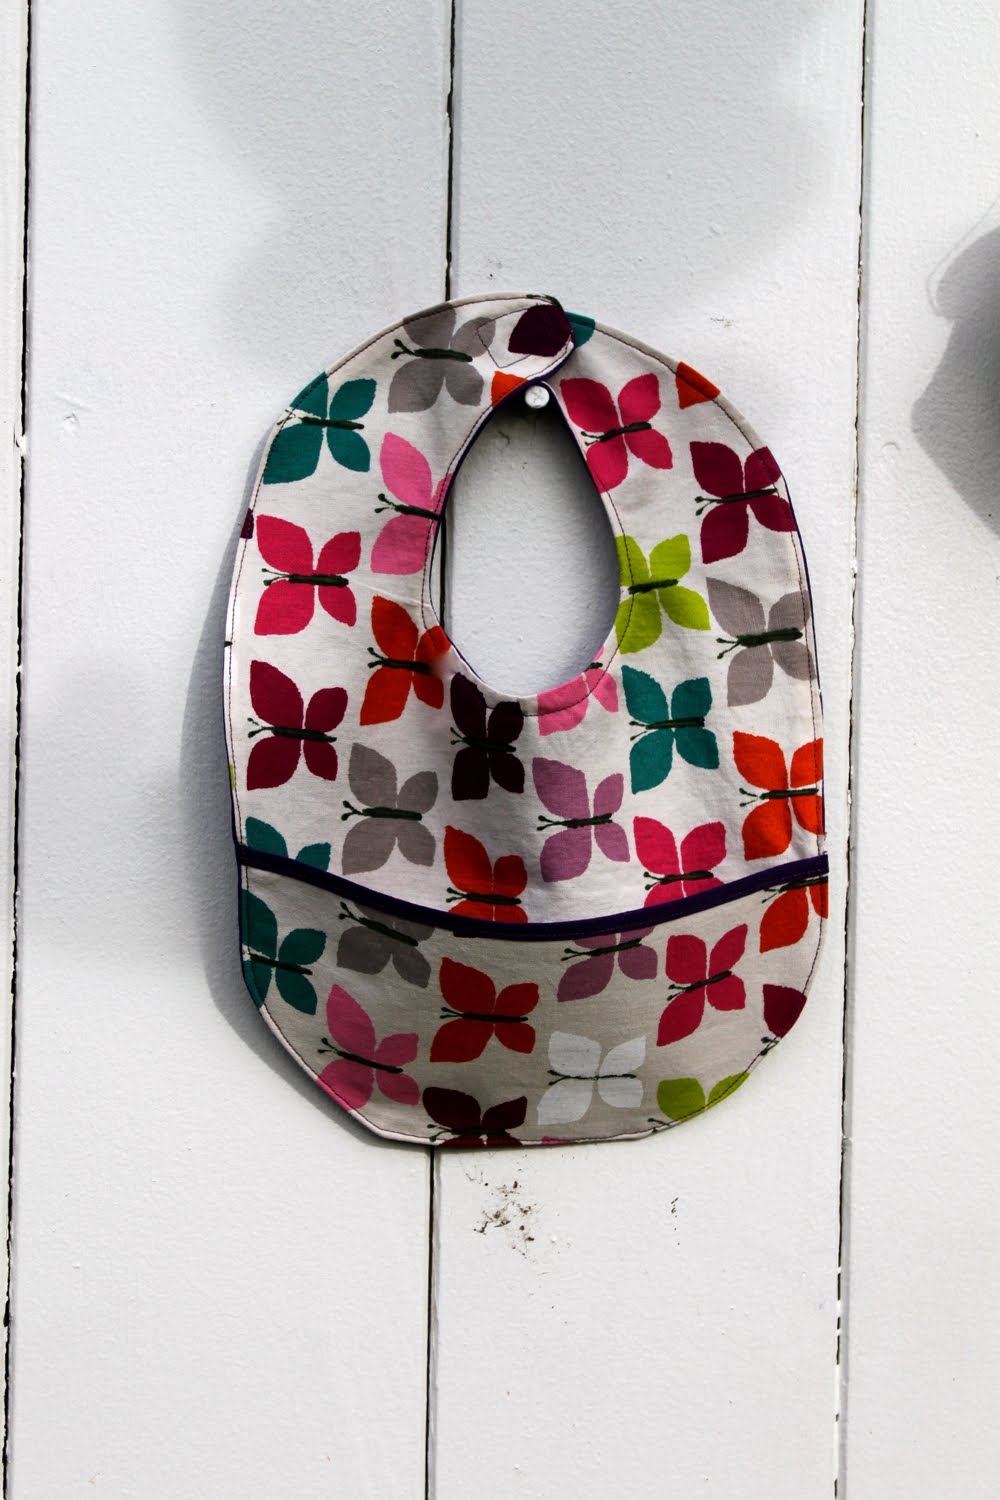
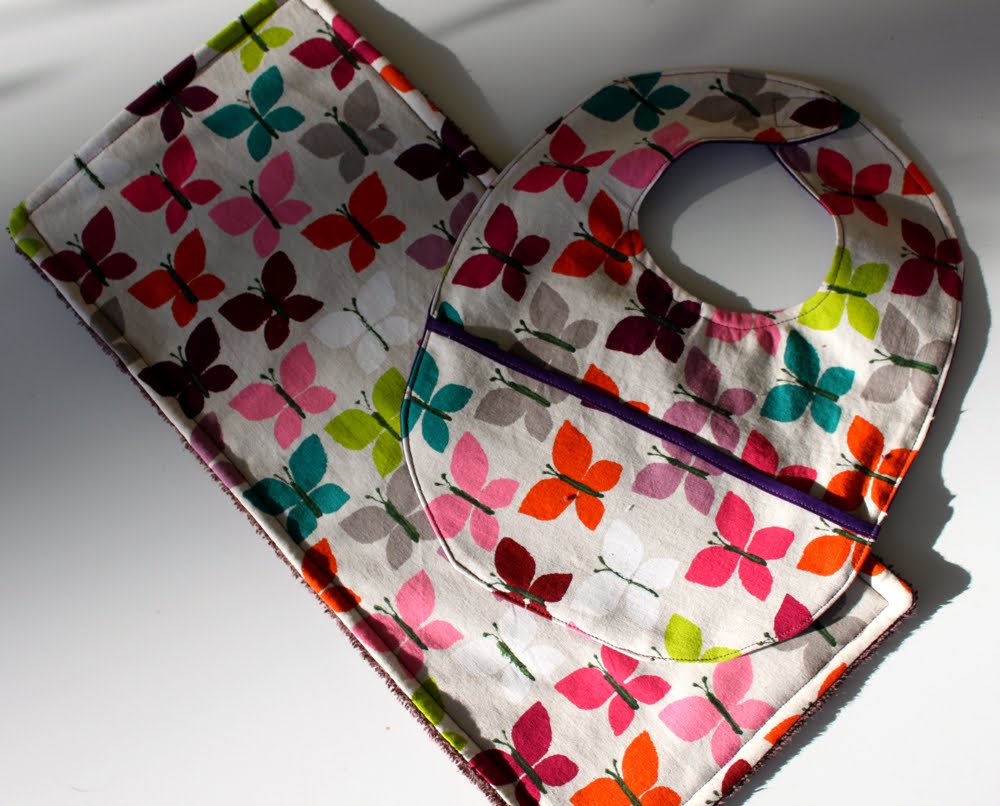
Yesterday we made a Pocket Bib and today we are making a matching terry burp cloth so we have a DIY bib & burp cloth gift set. This burp cloth is wildly simple.
And thanks for the post Craft Gossip!
1. Wash, iron and cut your fabric. I used the same Alexander Henry Canyon flutter in pink that i used for the pocket bib and a terry hand towel. You can make it any size you like, just add 1/2″ for the seam allowance. I cut my fabric 18″ X 8″.
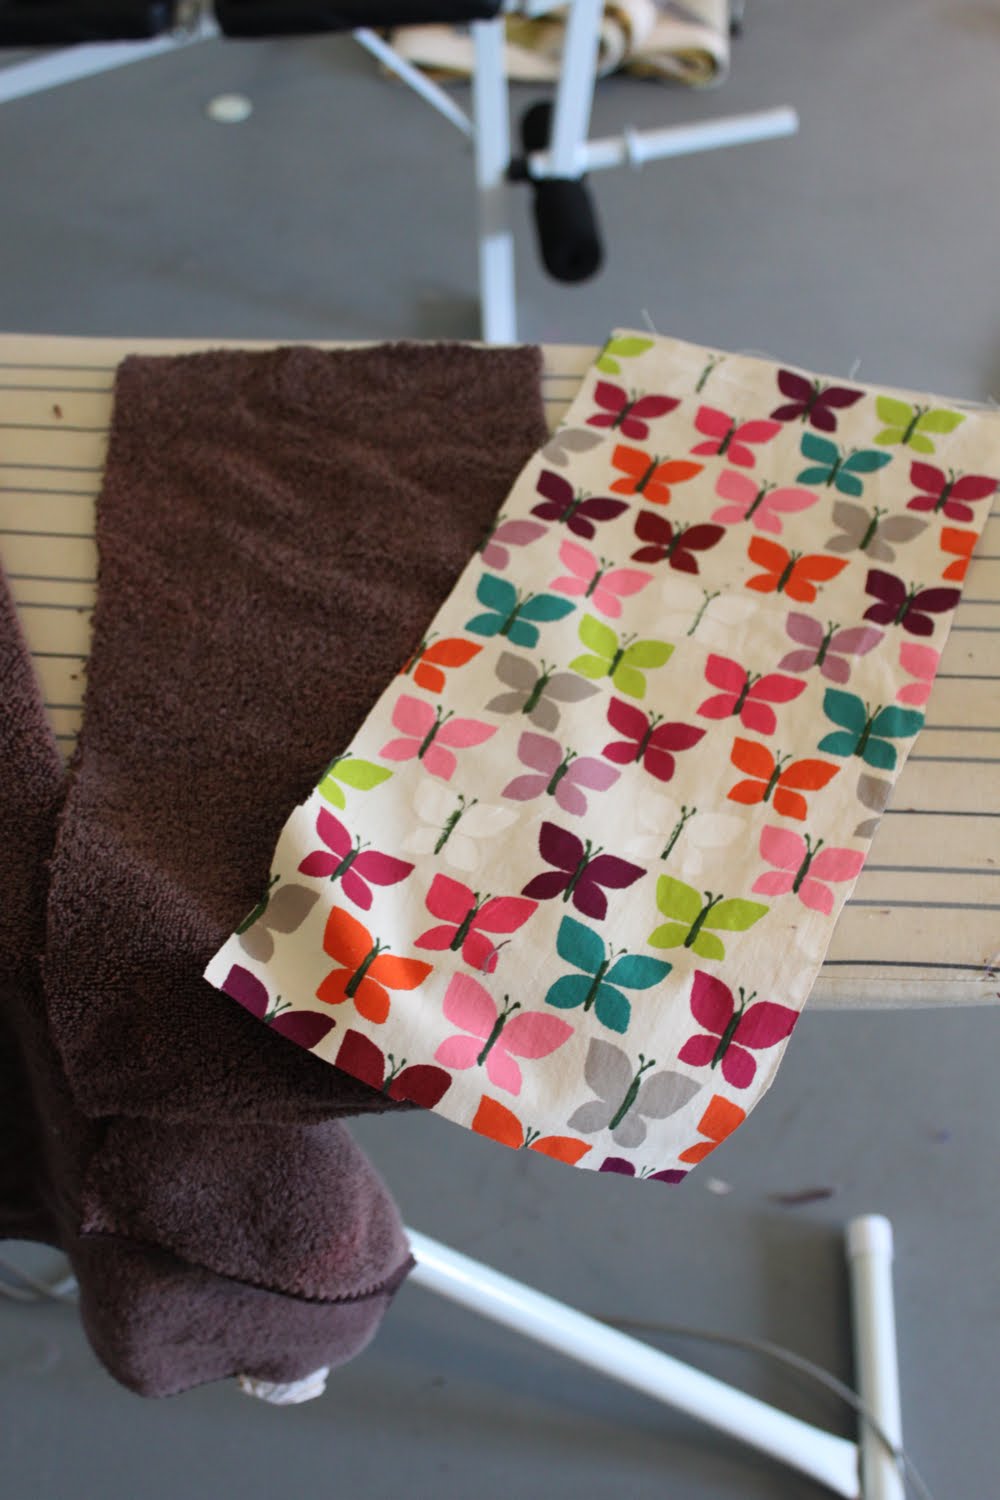
2. Pin your fabrics together right sides facing:

3. Sew them together with 1/4″ seam allowance, leaving a hole for turning and back stitching at the beginning and end:

4. Trim the edges, clip the corners and turn it right side out, then iron it nice and flat:
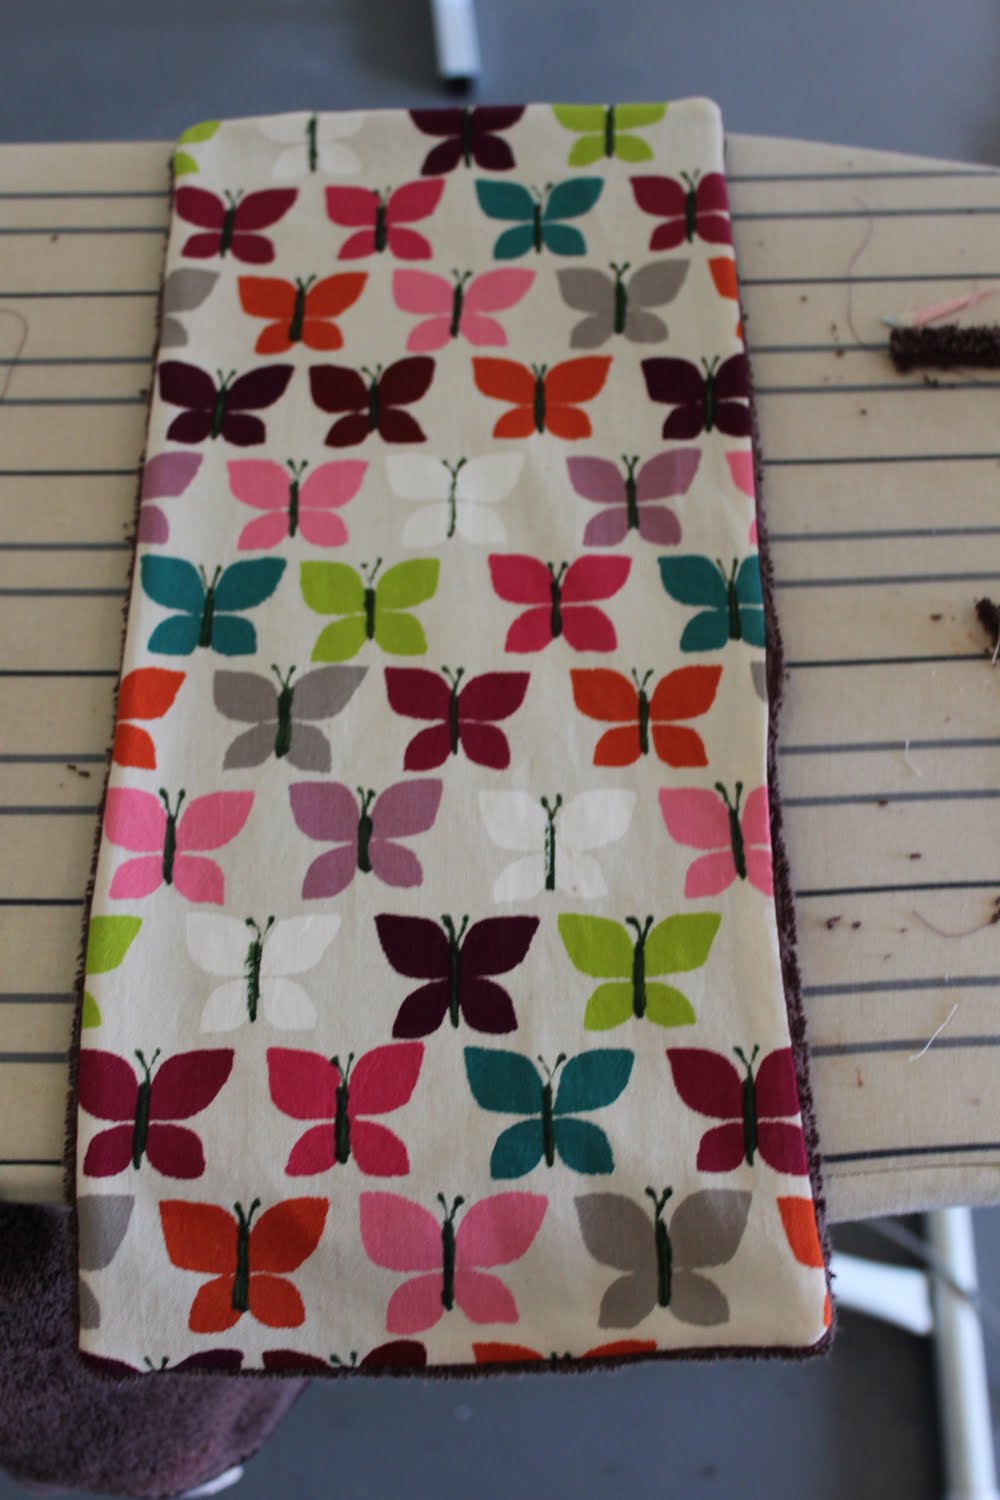
5. Top stitch around the edge, closing the turning hole as you go:

Voila!

Package it up with a matching bib and you’ve got an adorable gift set in under an hour for under $5!


Here is a super simple baby bib how-to. You don’t even need a pattern, just trace an old bib. I like bibs with pockets to catch stray dribbles so I added one here. You can even make this bib reversible if you want. Get the how-to after the jump…
And thanks for the posts Craft Gossip and One Pretty Thing!
1. Wash, iron and cut your fabric. I used Alexander Henry Canyon Flutter in Pink (still available here) and some purple cotton from International Silks and Woolens. You can make your whole bib one fabric but I like to use two complimentary fabrics. Fold a piece of fabric in half and do the same with an old bib, then trace the bib onto your fabric with a fabric marker. Do it about 1/4″ or 1/2″ bigger all the way around to allow for your seam:
 Now take the piece you just cut and trace it onto your other fabric and cut:
 Now you want to cut your pockets, so trace along the bottom of your bib for the curve then cut straight across. Do this on both fabrics, so you have two pocket pieces and two bib pieces, like so:
  2. Now we want to finish the top edge of our pocket, so place your two pockets pieces together wrong sides facing, and fold, iron, and pin a piece of bias tape to the top edge:
 Sew in place:
 3. Now to sew our bib together. Lay your front bib piece right side up, then lay your pocket on top the way you want it to appear on the finished bib. I put all my butterflies on one side because I did not make this bib reversible, but it would have been cute to have the pocket purple on this side. You decide:
 Now lay the back piece of your bib on top, right side down, so your pocket is sandwiched in the middle, and pin in place:
 Sew it together, leaving a hole for turning (backstitch at beginning and end):
 See there’s the hole for turning:
 4. Turn your bib right side out and iron it nice and flat, then top stitch all the way around, which will close your turning hole. If you want to make your bib reversible, only top stitch around the top, not around the pocket. That way you can turn the pocket to the other side.
 5. Sew velcro to the top. I like to put the soft part of the velcro facing the baby so there’s no chance of scratchiness on their soft baby neck:
 Done!
Done! Tune in tomorrow and I’ll show you how to make the matching burp cloth so you have a nice gift set.

Here is a super simple baby bib how-to. You don’t even need a pattern, just trace an old bib. I like bibs with pockets to catch stray dribbles so I added one here. You can even make this bib reversible if you want. Get the how-to after the jump…
And thanks for the posts Craft Gossip and One Pretty Thing!
1. Wash, iron and cut your fabric. I used Alexander Henry Canyon Flutter in Pink (still available here) and some purple cotton from International Silks and Woolens. You can make your whole bib one fabric but I like to use two complimentary fabrics. Fold a piece of fabric in half and do the same with an old bib, then trace the bib onto your fabric with a fabric marker. Do it about 1/4″ or 1/2″ bigger all the way around to allow for your seam:

Now take the piece you just cut and trace it onto your other fabric and cut:

Now you want to cut your pockets, so trace along the bottom of your bib for the curve then cut straight across. Do this on both fabrics, so you have two pocket pieces and two bib pieces, like so:

2. Now we want to finish the top edge of our pocket, so place your two pockets pieces together wrong sides facing, and fold, iron, and pin a piece of bias tape to the top edge:

Sew in place:

3. Now to sew our bib together. Lay your front bib piece right side up, then lay your pocket on top the way you want it to appear on the finished bib. I put all my butterflies on one side because I did not make this bib reversible, but it would have been cute to have the pocket purple on this side. You decide:

Now lay the back piece of your bib on top, right side down, so your pocket is sandwiched in the middle, and pin in place:

Sew it together, leaving a hole for turning (backstitch at beginning and end):

See there’s the hole for turning:

4. Turn your bib right side out and iron it nice and flat, then top stitch all the way around, which will close your turning hole. If you want to make your bib reversible, only top stitch around the top, not around the pocket. That way you can turn the pocket to the other side.

5. Sew velcro to the top. I like to put the soft part of the velcro facing the baby so there’s no chance of scratchiness on their soft baby neck:

Done!

Tune in tomorrow and I’ll show you how to make the matching burp cloth so you have a nice gift set.