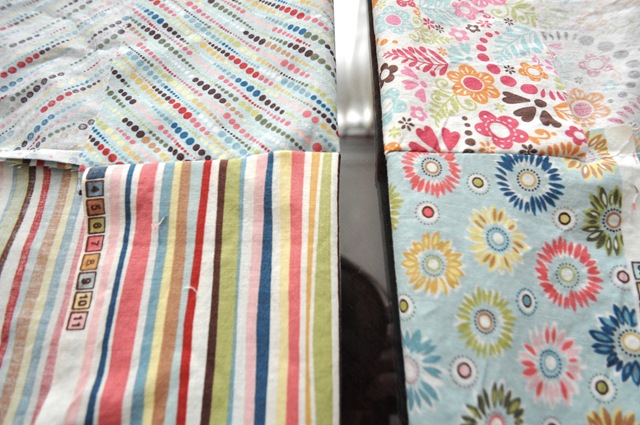
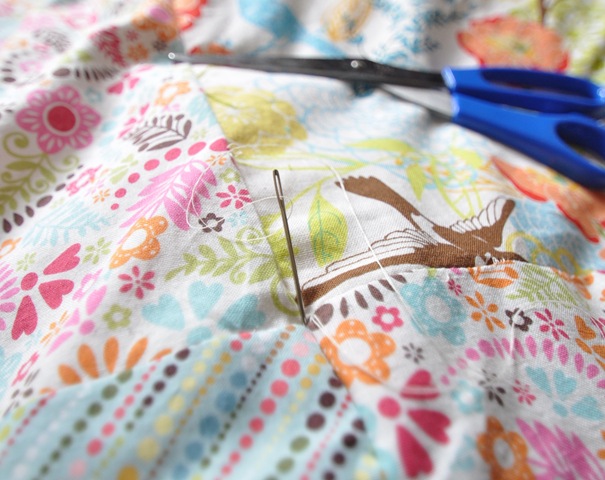
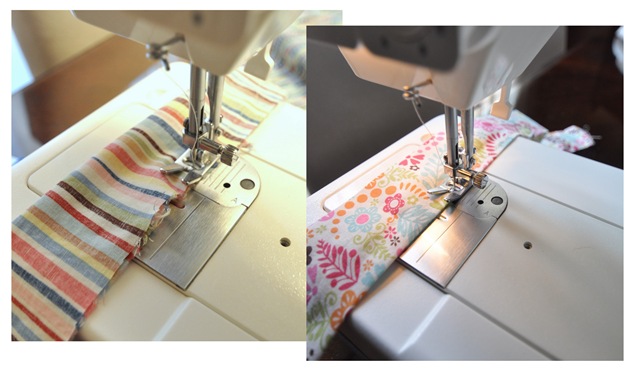
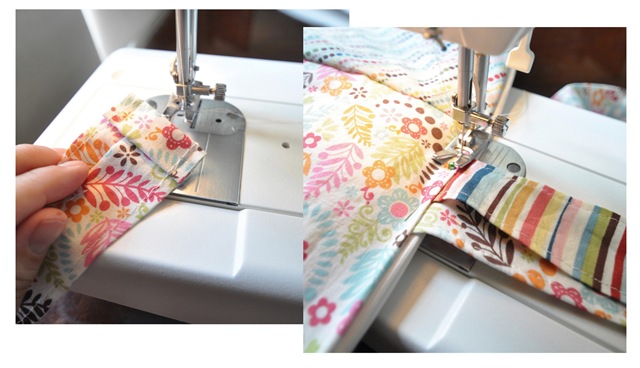
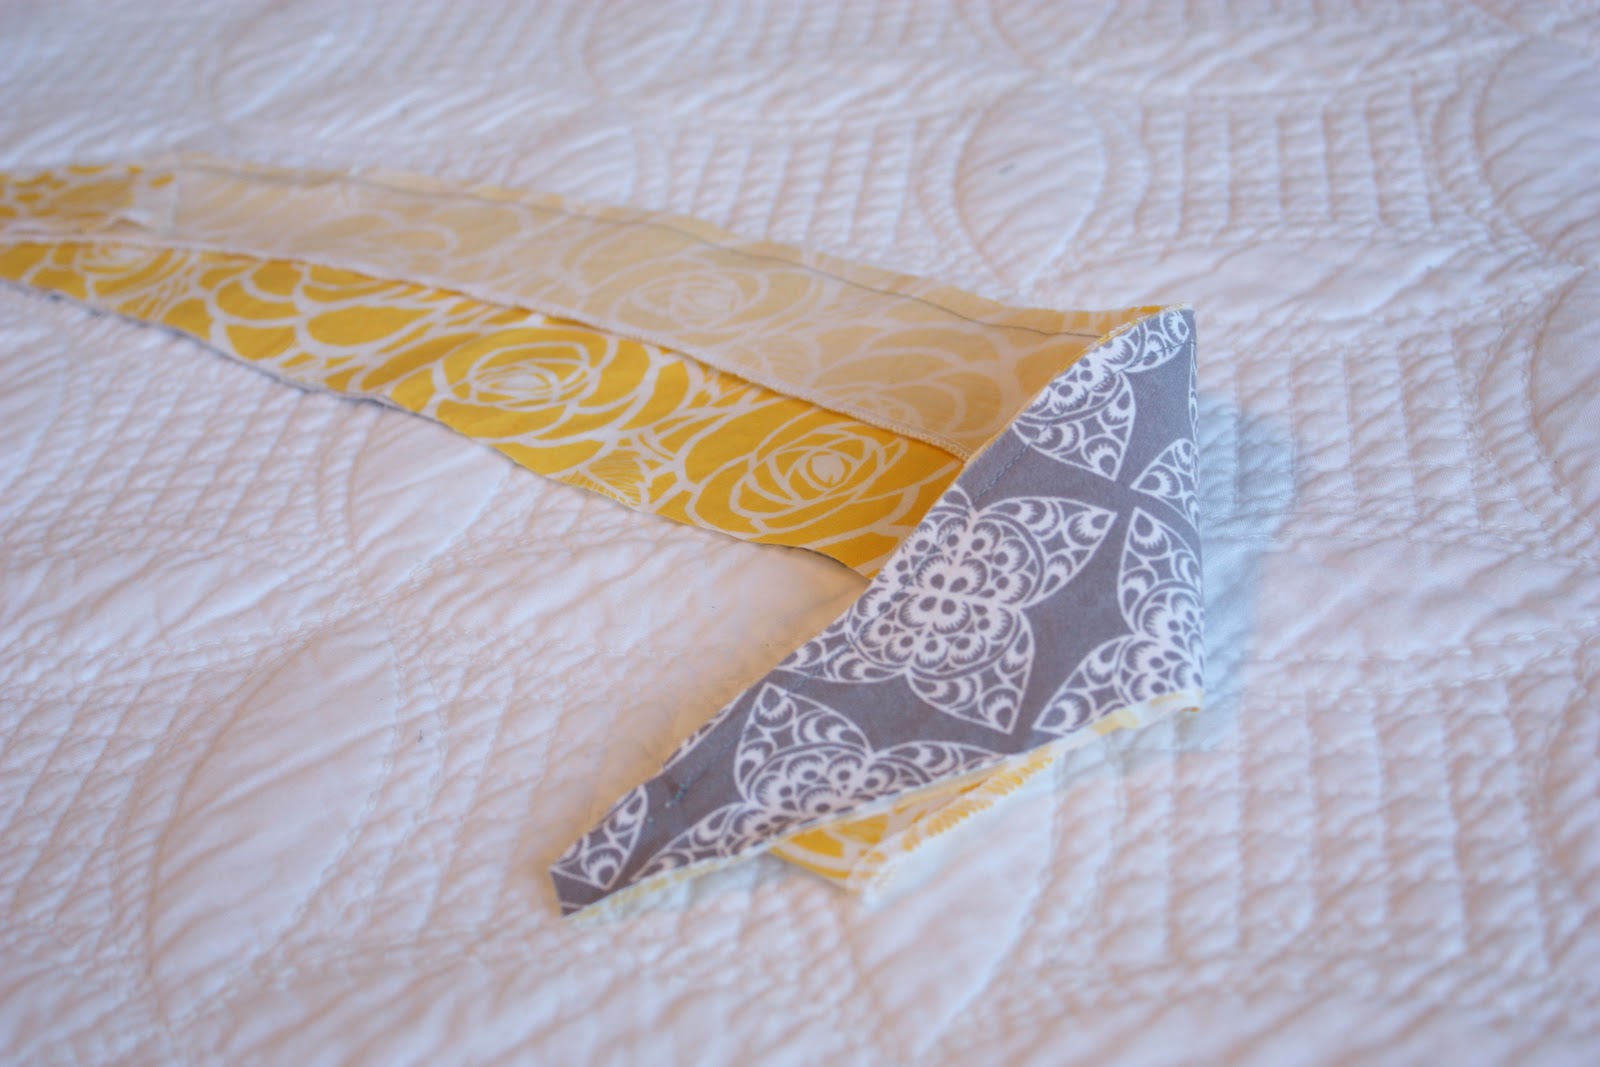
First of all, I purchased the yellow fabric at HB Fabrics
here. (Alexander Henry Amelie in Yellow, Matisse Collection) And I bought the gray fabric
here. (Ty Pennington, Lace Taupe) I actually purchased the thicker Decor Fabric in the grey because I knew I'd be using some of it for the canopy, and wanted it thicker. It has a nice sateen finish and is very soft. But the Ty Pennington collection also comes in the regular weight cotton.
I purchased 2 yards of the yellow and 1 yard of the gray. But the amount of fabric you'll need depends on how much fabric you need for your canopy, how much of the old canopy/car seat fabrics you use, how much of each color you use on the car seat, etc.
. . . . . . . . . . .
I didn't hate the color scheme/design of this car seat........but it wasn't exactly what I wanted. And even though the fabric was a bit slick, and would have wiped well, my babies tend to be sweaty and the fabric wasn't very breathable.
**I used the exact padding and sizing.......keeping the cover true to its fit inside of the car seat. So it is exactly the same size, fits the exact same way, and will be just as safe as the original.
Before taking anything apart, I took pictures of the car seat from every angle, so if I had any questions later on, I could take a look at how something looked.
Then, I started picking apart each piece of the car seat, using a seam ripper to carefully un-sew each seam.
Each piece had a top layer of fabric and then a layer of batting. I had to pick apart each fabric piece from its batting piece as well.
Then I used each fabric piece as a pattern and cut out each piece in the color that I wanted.
**You'll see that the gray piece at the bottom (where the feet would go) didn't make it to the final car seat cover. I changed my mind at the end and swapped it for the yellow fabric.
Then I placed each pattern piece with its appropriate batting piece, pinned them together with the fabric facing right side up, and zig-zagged around the entire piece.
Then I made seams in the appropriate places, just like on the original pieces. Seams such as these just allow the cover to bend at the appropriate spot.
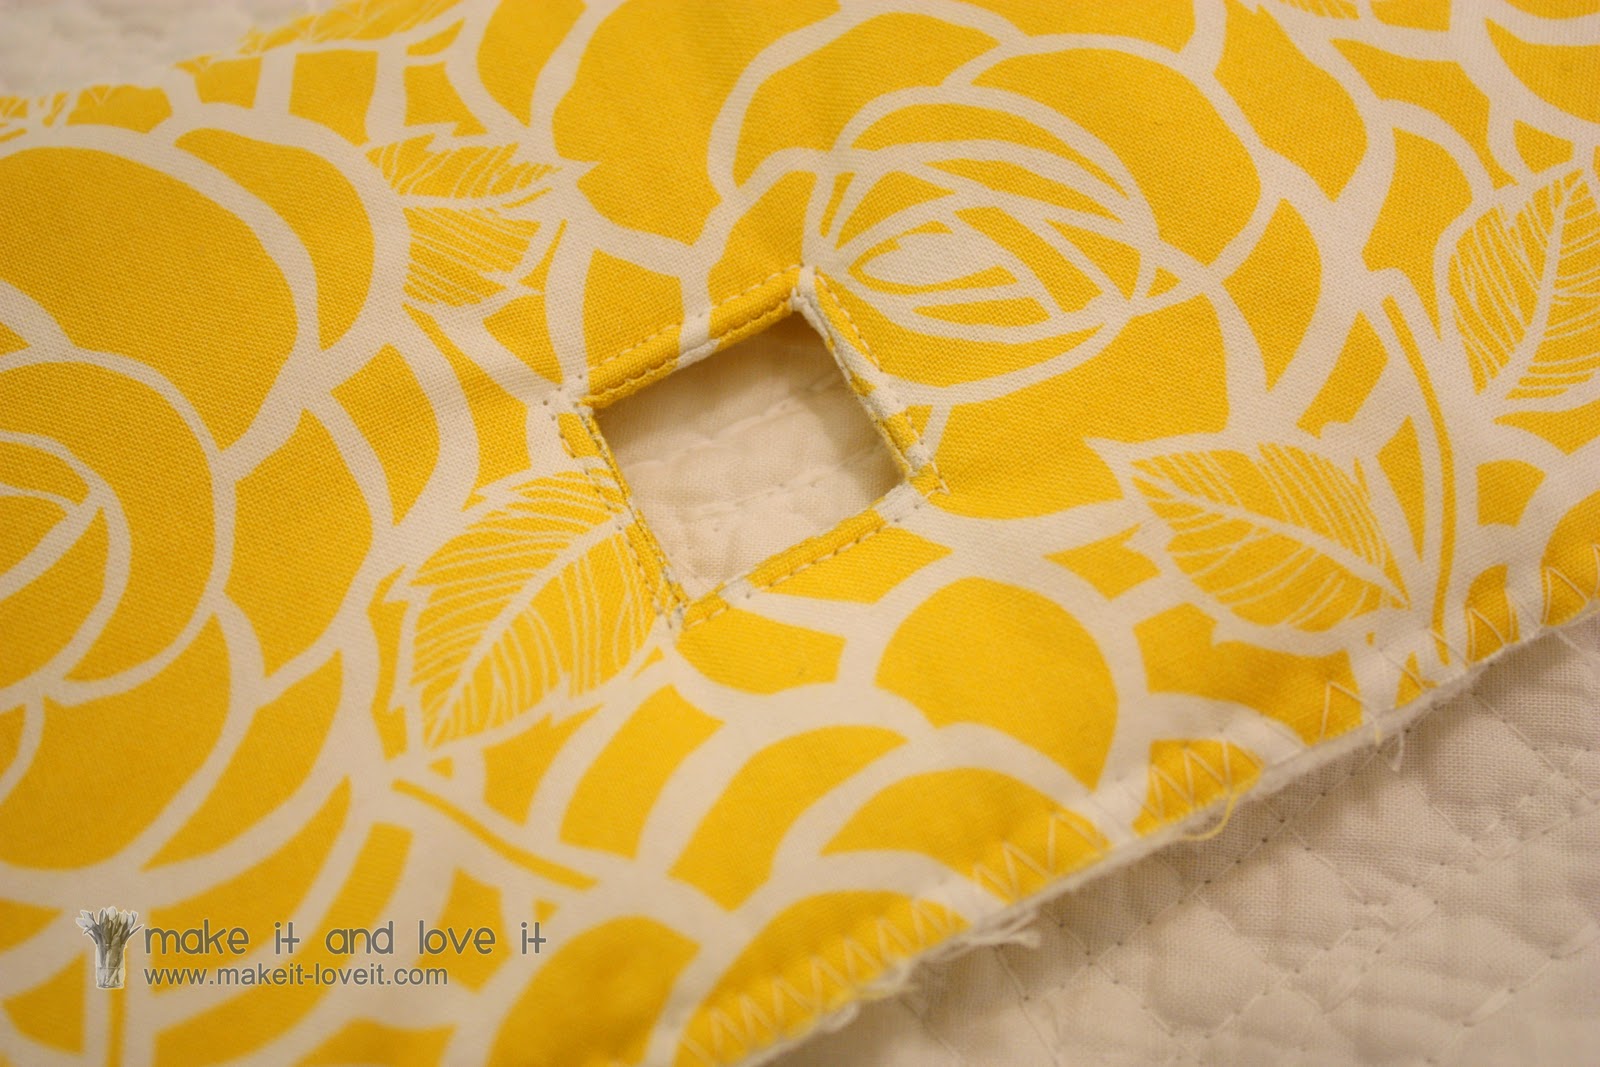
Now your car seat cover may look differently in some spots, but mine has a hole where a narrow strap comes out to be able to adjust the tightness of the shoulder straps. I took the original fabric piece, placed it on top, and traced the size of the opening.
As you deconstruct a tricky area such as this, take pictures and pay close attention how to put it back together.
Mine had another piece of fabric that was used to finish off the opening. So I recreated mine in the same way. I used the original fabric piece (shown above) to draw the right square size on there too.
Then I placed the fabric square right side down, lined up the 2 squares, and sewed right on top of the traced square shape.
Then I cut the square open, trimmed down the edges, then cut slits in towards the corners of the square, allowing for turning the fabric in the next step.
So next, shove the fabric through the hole, flipping the fabric out to the back side.
Pull the fabric square towards the back, nice and snug, and pin in place. Then sew around the square opening.
If you turn this piece over, you'll see the square on the back side. I trimmed the square with pinking shears, to help avoid fraying. But you could also zig-zag the edges before attaching the square several steps ago.
Now, onto the center piece of the car seat, where the slits for the straps go.
I placed the original piece over the top of my new piece, and marked little dots at each side of each slit with a pencil.
Can you see the little dots that I used to mark the width of each opening?
I then used those dots as a guide, and made button holes that were the same width and the same location as the original openings.
Then I used a seam ripper to slice the button holes open.
The rest of my pieces were basic, with no other tricky parts to it.
So I referred back to my first picture, and started putting the pieces back together. I used pins each time I put 2 pieces together, and then sewed it together........keeping things very precise.
You want to put the top of the seat together by itself......and then the bottom section.
And then sew the 2 sections together. This can be tricky to maneuver under your needle, so do it slowly.
The view from the back side.
Next, I took some shortcuts. I used the original fitted pieces, that keep the cover tucked into place over the car seat. The color matched perfectly and saved me some time. Perfect. But you may need to use your original pieces to cut out new ones that match your new fabric........but I just don't have pictures showing that step.
So I just skipped to adding the fitted sleeve to the top of the seat cover, with right sides together..........
.........and to the foot section of the car seat as well.
Then I used the original bias tape (because, again, the color was perfect) and attached it to the car seat, all the way around the raw edges. You can either buy some or make some of your own if you don't use the original stuff. (Need help making bias tape? Click
here.)
Now slide your cover onto your seat.......it should fit exactly the same way your original one did.
Are you ready to tackle the canopy?
Make sure to take pictures just like you did with the car seat cover. You don't want to forget how anything looked.
**If you are taking apart an old GRACO canopy, the main plastic pieces of the canopy attach like shown in the image below, right at the center of each piece. You will have to hold on either side of the center of the arch, and tug really hard to pull them apart. Then slide them out from each end of the canopy.
Then I picked all of the pieces apart, just like I did with the car seat cover above. Each section has a light pink piece of satin material on the underside that I peeled off the top piece......but didn't take a picture to show you.
Another shortcut. I used some of the original pieces in my final canopy.....simply because they were the exact color I needed. And each piece of the canopy was double layered, so I used the main pieces as pattern pieces to cut out the new pieces in the colors that I needed. And then I used double-sided-iron-on-adhesive to seal the two pieces together, with wrong sides together. (Sealing these 2 layers together for each section, will also give the canopy a sturdier structure.)
But if you are completely re-making your canopy, remember that you will need to cut out 2 pieces of fabric for each canopy section........and then seal them together with wrong sides together, with the adhesive. (Keep in mind that you may want a thicker/sturdier fabric for your canopy, to give it more shape and to protect the baby a bit more.)
My canopy had 2 little tube sections down the center, that housed little plastic piping pieces. So I made sure to duplicate those strips of fabric, sewed them into tubes the same way as the originals.......
........slid in the plastic forms, to be sure they fit............
..........then sewed the tubes right to the center section of the canopy (just like it was done on the original canopy), with the raw edges matched up with the outer raw edges of the center canopy strip.

Then I slid the plastic pieces back in...
........and sewed off each end with a zig-zag stitch, keeping the plastic pieces securely inside.
Now, the back piece of my canopy has a casing to slide the main plastic structure of the canopy. I cut the strip for the structure just like the original, then serged the raw edge (you can zig--zag it too).
Then I folded under each end of the strip, then sewed along each long edge of the casing, securing it right to this section of the canopy. (Make sure your are re-creating the same casing as the original.......so that the canopy will fit the same way. So cut your pieces precisely and remember to take many pictures.)
The front of my canopy, has a little extra fold down strip, which is how the front casing is actually attached. So I re-created it the same way as the original (and serged the lower raw edge like the one above), but this time, the casing was sewn with the right side of the fabric facing down. And remember to tuck the ends under again like shown above.
See, this is my very front piece, with the gray color on the outside.
The next step, is to attach that front strip to the next canopy section.
I placed the two strips together with right sides together, then sewed along that edge.
Then I folded that casing piece away from that more narrow front canopy strip.
Then, I opened up these 2 canopy pieces, with the bottom side facing up. I folded over that casing section, along with the raw edges underneath that casing, and sewed the casing down to the bigger canopy section. (Make sure it lays flat and that you sew evenly, as the seam will show from the other side.)
Attach the other canopy sections in the same way, creating the domed shape.
Then use the original bias tape like I did, purchase some, or make your own (click
here for help) and encase each raw seam where each canopy section was sewn together.
Now, again, remember that not every canopy style is the same, but mine has a little extra piece of plastic boning along the front. This helps that little extra addition to the canopy at the front to keep it's shape. So, because the next step is to attach bias tape all the way around the canopy, you'll use the bias tape as a casing for teh boning along the front for this style of canopy. So I attached the bias tape along the front only.......
.........then slid the plastic boning on in.
Then I finished attaching the bias tape the rest of the way around the canopy.
Now, if you have a GRACO brand car seat, the main plastic pieces attach like this right at the center of the arch of the canopy. (If you were taking your canopy apart, you would need to pull it apart, by tugging really hard.) To put back into the canopy, slide one piece into each side, and slide each piece back into each other.
Then attach the plastic pieces to the car seat........allowing your canopy to stand up.
Last step......the seat belt shoulder covers.
I took apart each shoulder cover and cut out new fabric pieces......just like above. (If you're wanting to create your own shoulder covers from scratch, click
here for tutorial.)
I then zig-zagged around each fabric piece, attaching it to the original piece of batting.
Then, I made my own bias tape (click
here for help) and attached it to the raw edges of each shoulder cover. And lastly, I attached the velcro to each strap......just like the original ones.
And that is it. Whew. I know, a lot of steps.
But pat yourself on that hard working back of yours, because you just created your own custom car seat cover and canopy.
Wow.
First of all, I purchased the yellow fabric at HB Fabrics
here. (Alexander Henry Amelie in Yellow, Matisse Collection) And I bought the gray fabric
here. (Ty Pennington, Lace Taupe) I actually purchased the thicker Decor Fabric in the grey because I knew I'd be using some of it for the canopy, and wanted it thicker. It has a nice sateen finish and is very soft. But the Ty Pennington collection also comes in the regular weight cotton.
I purchased 2 yards of the yellow and 1 yard of the gray. But the amount of fabric you'll need depends on how much fabric you need for your canopy, how much of the old canopy/car seat fabrics you use, how much of each color you use on the car seat, etc.
. . . . . . . . . . .
I didn't hate the color scheme/design of this car seat........but it wasn't exactly what I wanted. And even though the fabric was a bit slick, and would have wiped well, my babies tend to be sweaty and the fabric wasn't very breathable.
**I used the exact padding and sizing.......keeping the cover true to its fit inside of the car seat. So it is exactly the same size, fits the exact same way, and will be just as safe as the original.
Before taking anything apart, I took pictures of the car seat from every angle, so if I had any questions later on, I could take a look at how something looked.
Then, I started picking apart each piece of the car seat, using a seam ripper to carefully un-sew each seam.
Each piece had a top layer of fabric and then a layer of batting. I had to pick apart each fabric piece from its batting piece as well.
Then I used each fabric piece as a pattern and cut out each piece in the color that I wanted.
**You'll see that the gray piece at the bottom (where the feet would go) didn't make it to the final car seat cover. I changed my mind at the end and swapped it for the yellow fabric.
Then I placed each pattern piece with its appropriate batting piece, pinned them together with the fabric facing right side up, and zig-zagged around the entire piece.
Then I made seams in the appropriate places, just like on the original pieces. Seams such as these just allow the cover to bend at the appropriate spot.
Now your car seat cover may look differently in some spots, but mine has a hole where a narrow strap comes out to be able to adjust the tightness of the shoulder straps. I took the original fabric piece, placed it on top, and traced the size of the opening.
As you deconstruct a tricky area such as this, take pictures and pay close attention how to put it back together.
Mine had another piece of fabric that was used to finish off the opening. So I recreated mine in the same way. I used the original fabric piece (shown above) to draw the right square size on there too.
Then I placed the fabric square right side down, lined up the 2 squares, and sewed right on top of the traced square shape.
Then I cut the square open, trimmed down the edges, then cut slits in towards the corners of the square, allowing for turning the fabric in the next step.
So next, shove the fabric through the hole, flipping the fabric out to the back side.
Pull the fabric square towards the back, nice and snug, and pin in place. Then sew around the square opening.
If you turn this piece over, you'll see the square on the back side. I trimmed the square with pinking shears, to help avoid fraying. But you could also zig-zag the edges before attaching the square several steps ago.
Now, onto the center piece of the car seat, where the slits for the straps go.
I placed the original piece over the top of my new piece, and marked little dots at each side of each slit with a pencil.
Can you see the little dots that I used to mark the width of each opening?
I then used those dots as a guide, and made button holes that were the same width and the same location as the original openings.
Then I used a seam ripper to slice the button holes open.
The rest of my pieces were basic, with no other tricky parts to it.
So I referred back to my first picture, and started putting the pieces back together. I used pins each time I put 2 pieces together, and then sewed it together........keeping things very precise.
You want to put the top of the seat together by itself......and then the bottom section.
And then sew the 2 sections together. This can be tricky to maneuver under your needle, so do it slowly.
The view from the back side.
Next, I took some shortcuts. I used the original fitted pieces, that keep the cover tucked into place over the car seat. The color matched perfectly and saved me some time. Perfect. But you may need to use your original pieces to cut out new ones that match your new fabric........but I just don't have pictures showing that step.
So I just skipped to adding the fitted sleeve to the top of the seat cover, with right sides together..........
.........and to the foot section of the car seat as well.
Then I used the original bias tape (because, again, the color was perfect) and attached it to the car seat, all the way around the raw edges. You can either buy some or make some of your own if you don't use the original stuff. (Need help making bias tape? Click
here.)
Now slide your cover onto your seat.......it should fit exactly the same way your original one did.
Are you ready to tackle the canopy?
Make sure to take pictures just like you did with the car seat cover. You don't want to forget how anything looked.
**If you are taking apart an old GRACO canopy, the main plastic pieces of the canopy attach like shown in the image below, right at the center of each piece. You will have to hold on either side of the center of the arch, and tug really hard to pull them apart. Then slide them out from each end of the canopy.
Then I picked all of the pieces apart, just like I did with the car seat cover above. Each section has a light pink piece of satin material on the underside that I peeled off the top piece......but didn't take a picture to show you.
Another shortcut. I used some of the original pieces in my final canopy.....simply because they were the exact color I needed. And each piece of the canopy was double layered, so I used the main pieces as pattern pieces to cut out the new pieces in the colors that I needed. And then I used double-sided-iron-on-adhesive to seal the two pieces together, with wrong sides together. (Sealing these 2 layers together for each section, will also give the canopy a sturdier structure.)
But if you are completely re-making your canopy, remember that you will need to cut out 2 pieces of fabric for each canopy section........and then seal them together with wrong sides together, with the adhesive. (Keep in mind that you may want a thicker/sturdier fabric for your canopy, to give it more shape and to protect the baby a bit more.)
My canopy had 2 little tube sections down the center, that housed little plastic piping pieces. So I made sure to duplicate those strips of fabric, sewed them into tubes the same way as the originals.......
........slid in the plastic forms, to be sure they fit............
..........then sewed the tubes right to the center section of the canopy (just like it was done on the original canopy), with the raw edges matched up with the outer raw edges of the center canopy strip.
Then I slid the plastic pieces back in...
........and sewed off each end with a zig-zag stitch, keeping the plastic pieces securely inside.
Now, the back piece of my canopy has a casing to slide the main plastic structure of the canopy. I cut the strip for the structure just like the original, then serged the raw edge (you can zig--zag it too).
Then I folded under each end of the strip, then sewed along each long edge of the casing, securing it right to this section of the canopy. (Make sure your are re-creating the same casing as the original.......so that the canopy will fit the same way. So cut your pieces precisely and remember to take many pictures.)
The front of my canopy, has a little extra fold down strip, which is how the front casing is actually attached. So I re-created it the same way as the original (and serged the lower raw edge like the one above), but this time, the casing was sewn with the right side of the fabric facing down. And remember to tuck the ends under again like shown above.
See, this is my very front piece, with the gray color on the outside.
The next step, is to attach that front strip to the next canopy section.
I placed the two strips together with right sides together, then sewed along that edge.
Then I folded that casing piece away from that more narrow front canopy strip.
Then, I opened up these 2 canopy pieces, with the bottom side facing up. I folded over that casing section, along with the raw edges underneath that casing, and sewed the casing down to the bigger canopy section. (Make sure it lays flat and that you sew evenly, as the seam will show from the other side.)
Attach the other canopy sections in the same way, creating the domed shape.
Then use the original bias tape like I did, purchase some, or make your own (click
here for help) and encase each raw seam where each canopy section was sewn together.
Now, again, remember that not every canopy style is the same, but mine has a little extra piece of plastic boning along the front. This helps that little extra addition to the canopy at the front to keep it's shape. So, because the next step is to attach bias tape all the way around the canopy, you'll use the bias tape as a casing for teh boning along the front for this style of canopy. So I attached the bias tape along the front only.......
.........then slid the plastic boning on in.
Then I finished attaching the bias tape the rest of the way around the canopy.
Now, if you have a GRACO brand car seat, the main plastic pieces attach like this right at the center of the arch of the canopy. (If you were taking your canopy apart, you would need to pull it apart, by tugging really hard.) To put back into the canopy, slide one piece into each side, and slide each piece back into each other.
Then attach the plastic pieces to the car seat........allowing your canopy to stand up.
Last step......the seat belt shoulder covers.
I took apart each shoulder cover and cut out new fabric pieces......just like above. (If you're wanting to create your own shoulder covers from scratch, click
here for tutorial.)
I then zig-zagged around each fabric piece, attaching it to the original piece of batting.
Then, I made my own bias tape (click
here for help) and attached it to the raw edges of each shoulder cover. And lastly, I attached the velcro to each strap......just like the original ones.
And that is it. Whew. I know, a lot of steps.
But pat yourself on that hard working back of yours, because you just created your own custom car seat cover and canopy.
Wow.