Thursday, January 27, 2011

pleated knit scarf


I purchased some jersey knit that was a little thin-ish. If it's too thick and bulky it won't drape as much but will still work just fine. And check out those sale bins at the fabric store. I got this at Hancock several months ago for a couple of dollars a yard.

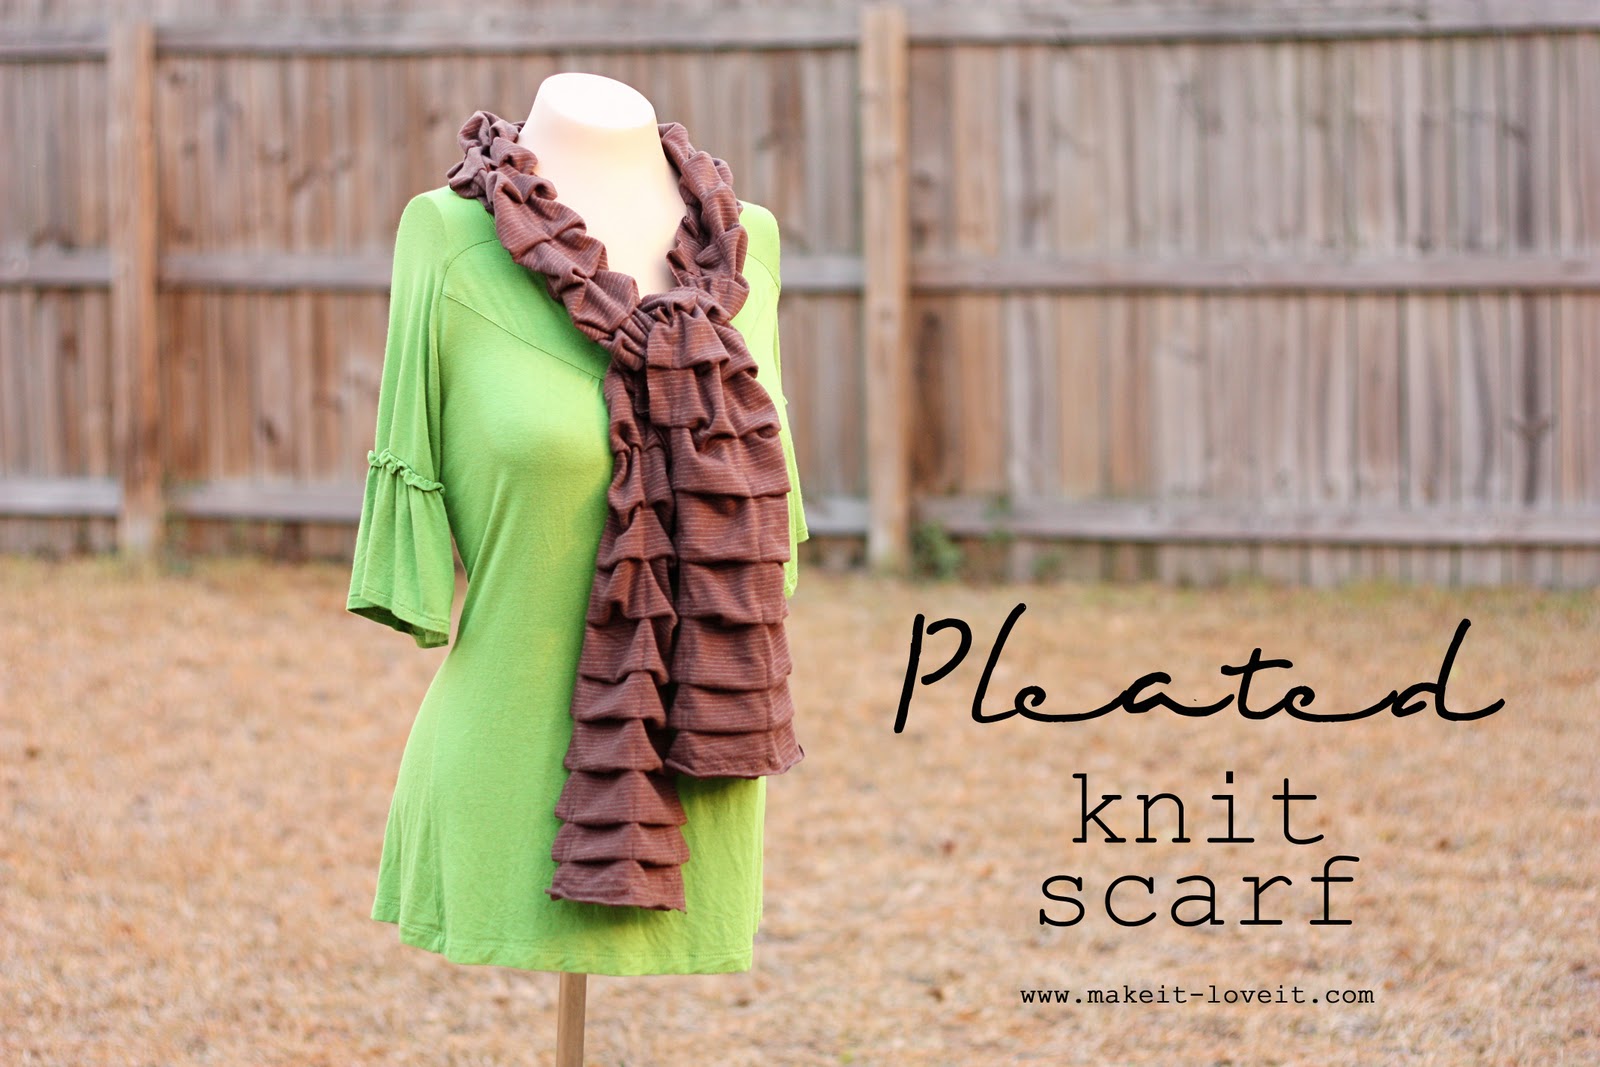
**The following measurements produced a scarf that ended up being about 67 inches long and 7 inches wide.

I cut two long pieces of the knit, both at 120 long x 7 inches wide.
To make the pieces one continual piece each, you would need to purchase at least 3.5 yards of knit. But if you don't need that much, buy half that much and just piece some long strips together, to achieve the 120 inches. (Or make your scarf a little shorter, or make the pleats smaller, etc. There are ways to get around having to buy so much fabric. I just happened to have plenty of this stuff!)


Then lay one strip on top of the other and match up all of the edges. If you have a right/wrong side to the fabric, the bottom piece should have the right side facing down and the top piece should have the right side facing up. (Trim unevenness if necessary.)

**Keep in mind, you will now be making the pleats with both pieces of fabric together, as if they are one piece. So keep the two pieces lined up and pressed together...........and make the pleats as explained below.

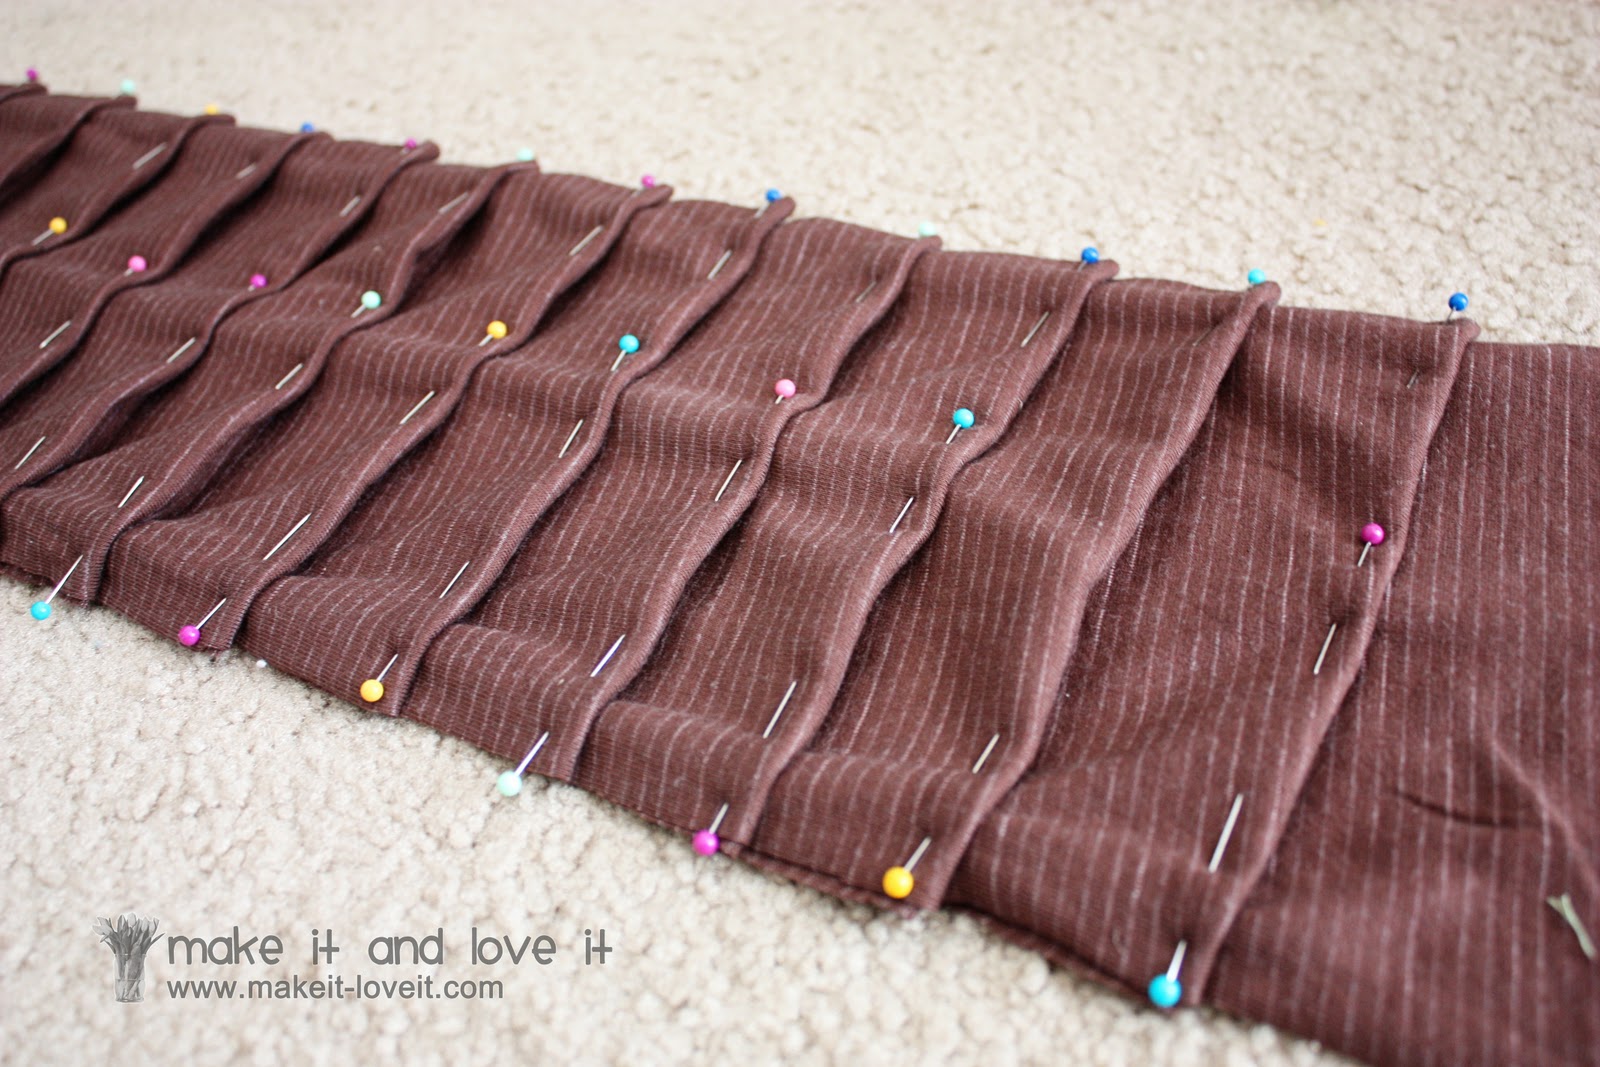
To make my pleats, I started about 2 inches from the top and made a 1/2 inch pleat (which means I folded it over about a 1/2 inch) then skipped down about another 1 1/2 - 2 inches......then made another 1/2 inch pleat. I continued making pleats all the way down the scarf, using a few pins per pleat.


I really didn't measure or try to make this exact............I just eyeball-ed what looked even and pinned each pleat in place. Knit gives and stretches so don't try and make it perfect.........you'll just go crazy!

And if you look closely, you'll notice that the mini stripes in my fabric aren't exactly even with each pleat. This was a cheaper fabric and the lines were not even with the edges of the fabric. So I didn't worry about it because you can't even notice on the finished scarf........so no biggee! :)


After the pleats are all pinned, sew around the entire edge of the scarf, about 3/4 of an inch from the edge. Use a bigger stitch length if your fabric is stretching as you sew......as you don't want it to pull. (But if it does a little bit, it's okay.) Sew very slowly, keeping the pleats tucked under, and taking out the pins as you go. Then make another seam inside of this first seam, about a 1/4 inch from the first seam........so about an inch from the edge of the scarf.


Then make one long seam right down the center of the scarf. This will help keep the pleats more in place and give it a great look.
If necessary, trim any uneven edges and steam lightly with your iron if you'd like less poof and more defined pleats. But because it's knit, the pleats will still droop......even if you steam them.


And that's it.
All ready for some cozy chilly weather.


Tshirt ruffled Dress from Makeit - Love it

.
Oooh, oooh, oooh......ruffles, ruffles, and more ruffles.

I received several different colors of ruffle fabric a few weeks ago (from the Ruffle Fabric shop, found here). I ripped open that box and colorful ruffles came pouring out. I could hardly stand it. I was in love. Ahhh....

And for my first project, and to keep things nice and simple, I turned a T-shirt into a ruffly dress.......based off my t-shirt into dress tutorial here.


And to keep that satin flower nice and full......and from getting damaged in the wash......
..........it's removable.


And don't forget that big floppy bow, tied up in the back.


Such a fun and full little ruffly dress. And all those ruffles came just like that........pre-ruffled. Yay.


This girl wants everything to spin. Check. The dress does that too...


Sure to look sweet on any sized girl........even you!.
Who doesn't love ruffles?


What a great discovery.....this great Ruffle Fabric shop. (You should see all the colors and ruffle sizes they have over there.) Mmmmm. Love the possibilities.

I'll be making more with my ruffles from the Ruffle Fabric Shop. So keep an eye out.


Would you like to make your own Ruffly Dress?


So the key to this project is, having your own ruffly fabric. (found here) These ruffles are primarily polyester and are light and airy. Not a heavy fabric with all those ruffles at all. And you don't have to hem up the bottom at all.......once you cut between the rows of ruffles, your fabric is set and won't fray. Love that.

And see? Each row is pre-ruffled, the perfect amount...

**Keep in mind, this fabric has a good amount of stretch to it. So while sewing with it, it acts a lot like knit. So if it's pulling and stretching while sewing, increase your stitch length to help you guide the fabric under your needle a little easier. Using a zig-zag stitch can be very helpful too.


The rest of the tutorial is very similar to this one, which I'll be referencing often. So be sure to check that one out too!

First, I cut the little knit tee off where I thought I'd like the little empire waist line to hit my daughter. (I used a pin to mark the shirt while she had it on, and then added another 3/4 of an inch for a seam allowance.)


Then I decided how long I'd like the skirt portion on her. I cut a length of 18 inches and left the entire width of the fabric (50 inches) so that I could gather it in to give the skirt more fullness.

I folded my 18 inch long piece in half width wise, and placed each selvage edge together, trying my best to match up each row of ruffles.


Then I serged along that edge (but you can sew and then zig-zag), to create a tube of fabric. This seam will be placed along the back of the skirt.


Then I made a basting stitch along the top front section of the skirt and the top back section of the skirt, both about 1/2 inch from the top. (Need help with gathering? Click here for help.)

(And if you look closely at the image below, there is a little bit of a strip of fabric above that top row of ruffle. This is where I made my basting stitch and also where I'll be sewing the skirt section to the shirt.)

Then I found the center and sides of the shirt bottom and the skirt top.....and placed pins.


Next, I turned the skirt section inside out and placed the shirt upside down, down into the skirt section. Then I matched up the edges that will be sewn together, having both pieces of fabric together with right sides together.

Then I pulled on my basting stitches at the sides and gathered up the fabric to match the width of the shirt. Pin the skirt in place.


Then serge (or zig-zag) that raw edge. Be sure to keep checking that your ruffles are pointed down towards the bottom of the dress, and aren't getting in the way as you're sewing. You only want to include that top strip of fabric in this seam.

If your seam stretches and ruffles a bit after sewing......it's okay. After you turn it right side out and add the belt......it will all be hidden.


Then turn it right side out. Perfectly attached.


Then just like in the tutorial above, you'll make a belt to go around the dress.


But before attaching the belt, I made a flower (like the ones here). But I added pearls to the center instead, with a needle and thread. I also held the flame under the satin more, to really ruffle up each petal. Just be careful not to burn yourself or melt through the fabric. Or blacken it. Play around with it to see what works for you.

And then I also cut out some felt leaves. And then stitched around the outer edge of each leaf.


Then I hot glued each leaf to the back of the flower.


And then I cut out a felt circle and attached a snap to it.


Then hot glued the circle with the snap, right to the back of the leaves.


Then I positioned the belt where it needed to go, then marked with a pin where I thought the flower should go, removed the belt, and hammered the snap into the belt only. Then I layed the belt back down, pinned it in place........


........and then sewed the belt in place, just like the dress tutorial referenced above. (Along the top and bottom of the belt and at each side of the dress.) Just be sure to keep your ruffles down as you're sewing, so they down get mangled and twisted under your seam.


And that was it.

All ready for it's ruffly debut.

Wednesday, January 26, 2011

pizza bites http://foodfolksandfun.blogspot.com/

Pizza Bites

I recently made these for a girl’s night and man were they yummy. They really do taste like little bites of pizza and I love how you can control the amount of sauce you get with each bite by dipping them. I didn’t have a block of mozzarella on hand so I just used string cheese by cutting each stick into 4 pieces.


Pizza Bites


Ingredients:

1 tube of pizza dough (found in your grocer’s refrigerator section)
4 oz. mozzarella cheese, cubed (about 20-24 pieces)
Sliced pepperoni

For topping:
Olive oil
Italian seasoning
Grated Parmesan cheese

Pizza sauce for dipping

Directions:
Preheat the oven to 400˚ F. Lightly grease a 9-inch pie plate or cake pan. Divide the pizza dough into 20-24 roughly equal sized pieces. Take one of the dough pieces, top with a cube of cheese and a slice or two of pepperoni. Pull the edges of the dough around the fillings and pinch closed. Place seam-side down in the baking dish. Repeat with the remaining dough pieces.

Lightly brush the tops of the dough balls with olive oil. Sprinkle with Italian seasoning and grated Parmesan cheese. Bake for 20 minutes, or until the tops are golden brown. Serve warm, with dipping sauce as desired.

microwave-mug chocolate cake

http://www.auntpegsrecipebox.blogspot.com/

Microwave Chocolate Cake in a Mug

Aunt Peg's Jewelry used this recipe along with some darling Christmas mugs to create quick and inexpensive gifts.
These were a hit with everyone who purchased them, and we have had a lot of requests for the recipe since...

It really makes an excellent cake (enough for 2 people) in the microwave in 3 minutes. No Kidding!


Chocolate Cake in a Mug
4 Tbsp. flour
4 Tbsp. sugar
2 Tbsp. cocoa
3 Tbsp. chocolate chips (mini are best)
Mix dry ingredients together.
(at this point if you are making this mix to give, place the mixed dry ingredients in a small bag, and add chocolate chips on top-seal bag)
Add chocolate chips.
Remaining ingredients & directions...
1 egg
3 Tbsp. milk
3 Tbsp. oil
Small splash of vanilla
Lightly coat the inside of a microwave safe mug with non stick spray. Add dry ingredients. Mix well with a fork. Add egg, and mix again. Pour in milk, oil and vanilla. Mix well.
Add chips.
Pour into mug, place in microwave and cook for 3 minutes (1000 watt).
photo of the cake baking in the microwave
Cake will rise over the top of the mug, don’t be alarmed. Allow to cool slightly, dump onto serving plate and enjoy!


Here are some photo's of the gift set we offered during the Christmas Holiday...


Tuesday, January 25, 2011

http://www.purlbee.com/little-boys-tie/

This little boy's Easter tie is quick but very well made and will brighten any Easter outfit. The tie is sewn almost entirely by hand, so if you don't have a machine its easy to finish without one.


Materials


Cut Front and Back Tie

Cut the 27-inch x 54-inch piece of Tana Lawn in half length-wise to create two 27-inch squares.

Take one of these squares and fold it in half diagonally as shown above and press it. This diagonal line is the bias fold.

Place your Front Tie template piece along the diagonal fold where indicated on the template and pin. Make sure that the fabric print is oriented in the correct way, it is hard to tell from this picture but the cars are right side up.

Cut out the Front Tie piece.

Cut Front Tie Lining and Back Tie Lining

Using the second 27-inch Tana Lawn square cut out the Back Tie in the same manner as above, along the bias fold.

Cut a 9-inch square of Muslin, fold it in half diagonally and press it. Place both the Front Tie Lining and the Back Tie Lining templates on the muslin, being sure to place the correct edge of the template along the fold as indicated on the template.

Cut Front Tie Interfacing and Back Tie Interfacing

From the Sew in Stabilizer interfacing, cut the Front Tie Interface and the Back Tie Interface pieces. Because the stabilizer is not woven you don't need to worry about cutting it on the bias.

Prepare to Sew Tie

Open up your pieces, you will have:

  • 1 Front Tie Piece
  • 1 Back Tie Piece
  • 1 Front Tie Lining
  • 1 Back Tie Lining
  • 1 Front Tie Interfacing
  • 1 Back Tie Interfacing

Do not iron these pieces flat. You will need their middle markings for reference later.

Front and Back Lining

From the Front Tie Lining, fold the bottom tip up 1/4-inch and press it.

Fold the bottom sides of the lining in 1/4-inch each and press them into place. This will form a neat point at the bottom angle of the lining.

Repeat this step for the Back Lining.

Fold the bottom edges of the Front tie in 1/4 and press them into place.

Fold the tip up 1/4-inch press it, and then fold in the sides to a neat point and press it again, as you did above with the lining pieces.

Repeat this step for the Back Tie.

Place the Front Lining on top of the Front Tie end, wrong sides together. Make sure that the lining is contained within the borders of the end of the tie as shown above. It should be a little bit smaller than the tie end.

Pin the Lining in place

Sew the folded edges of the lining onto the tie end with a slip stitch. Sew only through the folded layer of the Tana Lawn- Do not sew though to the front of the tie. This is very similar to sewing on the binding of a quilt.

Please click here if you need a more in depth explanation of slip stitch.

It's not necessary to sew the top of the lining, it will get enclosed within in the shaping of the tie.

Repeat the same steps to sew on the Back Lining.

Sew the Halves Together

Place the square end of the Back Tie piece on top of and perpendicular to the square end of the Front Tie piece, right sides together, to form a right angle as shown above. Do the same for the interfacing pieces. Draw a diagonal line from right to left across this intersection, as pictured above in yellow. This will be your seam line.

Sew the fronts and backs together along the seam line.

Trim off the excess fabric to 1/4-inch.

Press the seam open. It will be practically invisible on the right side since the print has so much going on!

Shaping the Tie

Fold in edges of the long sides 1/4-inch and press into place.

Fold again 1/4-inch and press.

Fold both edges in so they meet at the crease in the center of the tie and press.

Open up the sides and slip your interfacing in as pictured above. It should fit snugly inside the tie.

Now it's time to close up the tie. Refold the edges, press them again and pin into place.

Sew Tie

The inside seam of your tie will be sewn by hand.

Please Note: I used red thread for the following steps, but only so the technique would be more visible. At home you should use thread that matches your fabric.

Tack the point where the two edges meet a few times before you start your seam.

The tie is sewn up with a different type of slip stitch than was used for sewing the lining:

  • Start from the tack run your needle through the fold on the left side and come out about 1/2-inch above.
  • Insert your needle directly across from where you came out into the right side and slide it up though the fold for a 1/2-inch.
  • Then enter the left side directly across from where you exited the right side.
  • Repeat

Once you do this a few times you will have a little ladder of stitches as shown above.

  • Pull the stitches taut and they will almost disappear.

  • When you get to the end of your length of thread take a couple of tacking stitches but this time sew though the interfacing as well, while making sure not to sew though to the front of the tie, which will hold the interfacing in place.

Sew the entire inside seam of the tie in this way.

Once you're done, press the tie thoroughly to get rid of the middle seam and you'll be finished! Enjoy! --Molly